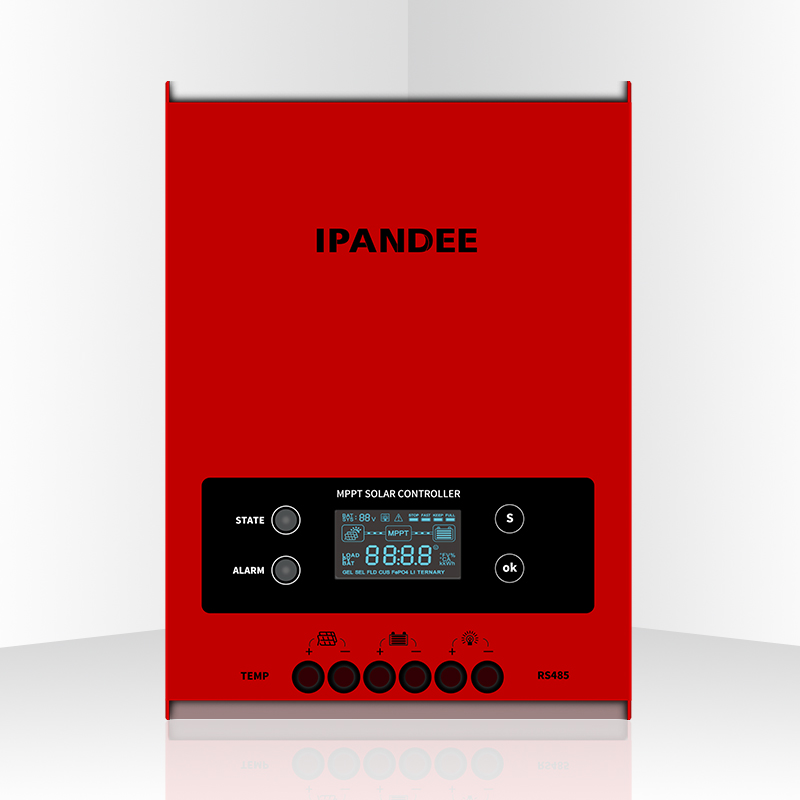
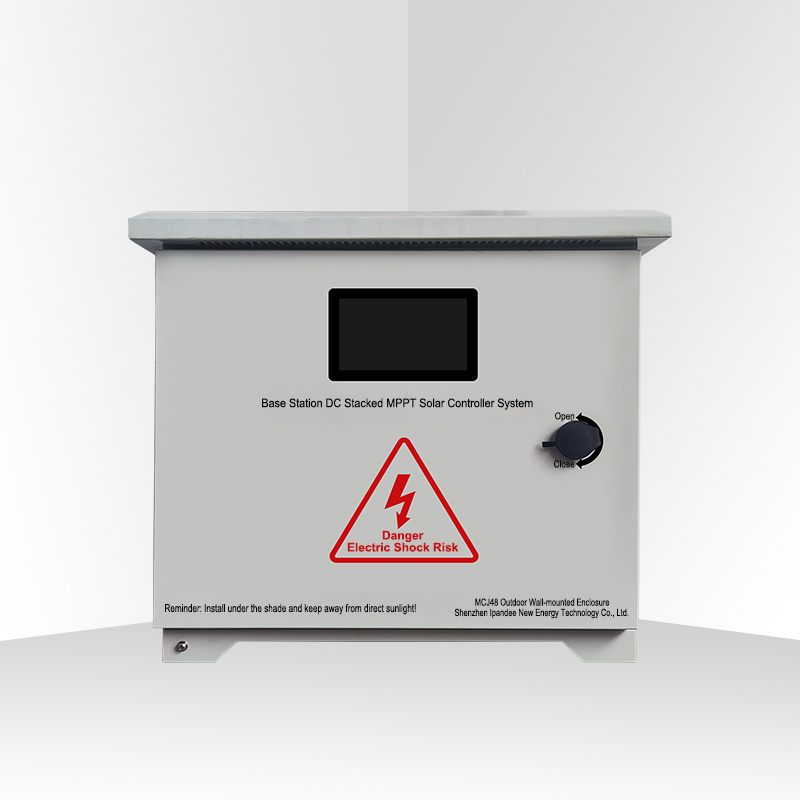
Harnessing solar energy has become a cornerstone of sustainable living, and a crucial component of any solar power system is the solar charge controller. This device plays a pivotal role in optimizing the charging and discharging of batteries, ensuring the longevity and efficiency of your solar setup. In this guide, we'll walk you through the essential steps of solar charge controller installation, empowering you to unlock the full potential of your solar panels.
Understanding Solar Charge Controllers
Types of Solar Charge Controllers
Before diving into the installation process, it's crucial to understand the two main types of solar charge controllers: PWM (Pulse Width Modulation) and MPPT (Maximum Power Point Tracking). Each type has its advantages, and choosing the right one depends on your specific solar power system requirements.
Sizing Your Solar Charge Controller
Proper sizing is key to the effectiveness of your solar charge controller. Learn how to calculate the size needed based on the solar panel array's voltage and current, ensuring that the controller can handle the maximum power output without overload.
Step-by-Step Installation Guide
Gather Your Tools and Equipment
Begin by gathering the necessary tools and equipment for the installation, including screwdrivers, wire strippers, crimping tools, and, of course, your solar charge controller.
Locate a Suitable Mounting Space
Choose a location for mounting your solar charge controller that is well-ventilated and protected from extreme temperatures. The controller should be easily accessible for monitoring and maintenance.
Connect the Solar Panels
Follow the manufacturer's guidelines to connect your solar panels to the solar charge controller. This typically involves connecting positive and negative leads from the panels to the corresponding terminals on the controller.
Connect the Battery
Next, connect the battery to the solar charge controller. Ensure proper polarity and use the recommended cable sizes to minimize energy losses.
Connect the Load
If your solar power system includes a load, such as appliances or lighting, connect it to the designated load terminals on the solar charge controller. This step allows the controller to regulate power distribution to the connected load.
Double-Check Connections
Before powering up your system, double-check all connections to ensure they are secure and correctly configured. Mistakes at this stage can lead to inefficiencies or, in the worst case, damage to your equipment.
Installing a solar charge controller is a critical step in optimizing the performance of your solar power system. By following this step-by-step guide, you'll not only ensure a smooth installation process but also empower yourself to make the most of clean and sustainable solar energy. As you embark on your solar journey, remember that a well-installed charge controller is the silent guardian ensuring the efficiency and longevity of your solar power system.
 English
  한국어
한국어  français
  Deutsch
  Español
  italiano
  русский
  português
  العربية
  tiếng việt
  ไทย
ไทย  Polska
  中文
中文


