The role of solar controllers
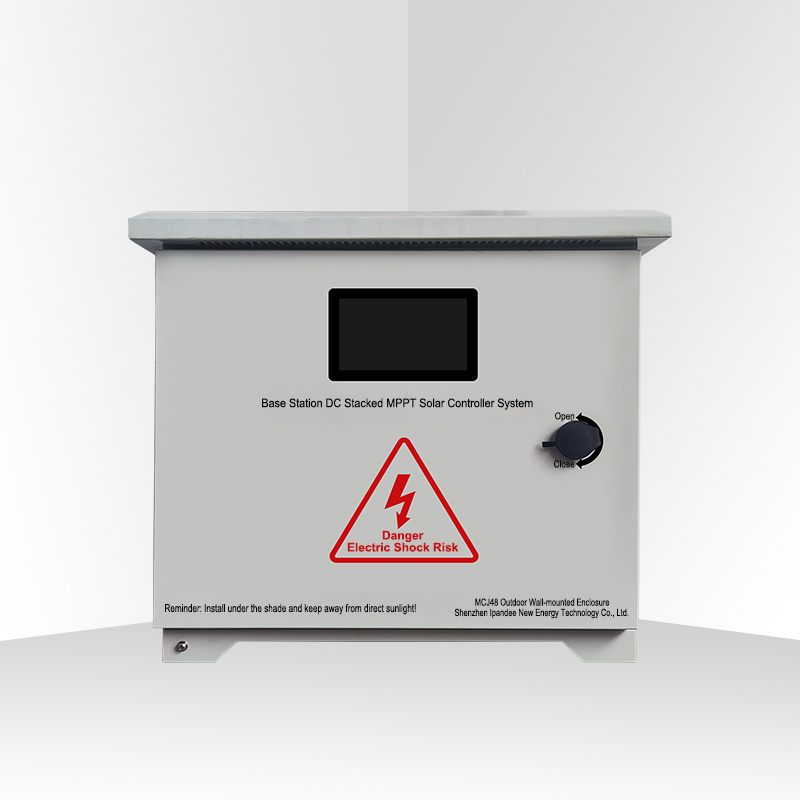
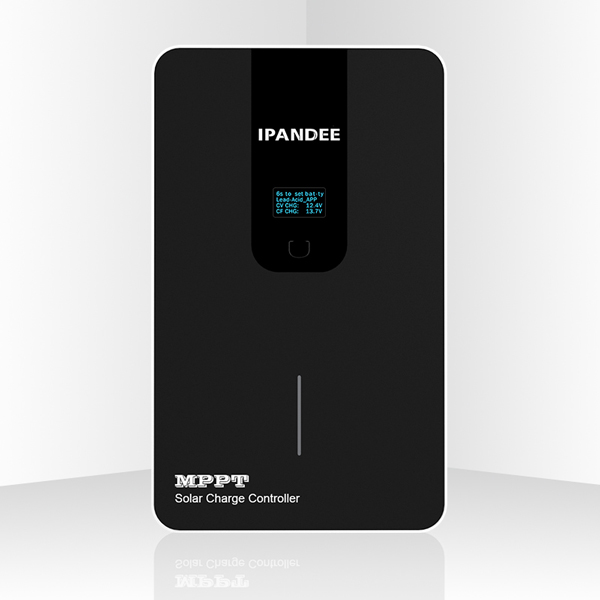
The solar controller, also known as the solar charge and discharge controller. It is used in solar power generation systems to control the charging of multiple solar battery arrays to the battery, and automatic control equipment that supplies power to the solar inverter load from the battery.
The biggest purpose of the solar controller is to protect the battery, followed by reverse protection, short circuit protection, overcharge and over discharge protection, etc. As the core component of the solar energy system, the controller must use high-quality and reliable products, otherwise even the best solar energy system cannot play its due role.
The basic function of the solar charge and discharge controller is to control the battery voltage and open the circuit, and when the battery voltage rises to a certain level, stop charging the battery. The old version of the controller mechanically completes the opening or closing of the control circuit, and stops or starts the power supply to the battery.
Solar controllers are used in most photovoltaic systems to protect batteries from overcharging or overdischarging. Overcharging may vaporize the electrolyte in the battery, causing a malfunction, while over-discharging can cause premature failure of the battery. Overcharging and over-discharging can both damage the load. Therefore, the controller is one of the core components of the photovoltaic power generation system and the main part of balancing the system BOS(Balance of System).
Installation method of solar controllers
When installing the solar controller, we should pay attention to the following issues.
1. The solar controller should be installed in a well-ventilated place, avoid direct sunlight, high temperature, and should not be installed where water can penetrate into the solar controller.
2. Choose the correct screw to install the solar controller on the wall or other platform, screws M4 or M5, screw cap diameter should be less than 10mm.
3. Please reserve enough space between the wall and the solar controller for cooling and connection order.
4. The installation hole spacing is 20-30A (178*178mm), 40A (80*185mm), 50-60A (98*178mm), and the diameter of the installation hole is 5mm.
5. To get a better connection, all terminals are tightly connected together during packaging. Please release all terminals.
6. First connect the positive and negative poles of the battery and the controller correctly to avoid short circuit. Twist the battery onto the controller first, then connect the solar panel, and then connect the load.
If a short circuit occurs at the terminal of the solar controller, it will cause a fire or leakage, and we must be extremely careful. (We strongly recommend connecting the fuse on the battery side to 1.5 times the controller's rated current). After the correct connection is successful, if the sunlight is sufficient, the LCD will display the solar panel, and the arrow from the solar panel to the battery will light up.
 English
  한국어
한국어  français
  Deutsch
  Español
  italiano
  русский
  português
  العربية
  tiếng việt
  ไทย
ไทย  Polska
  中文
中文


